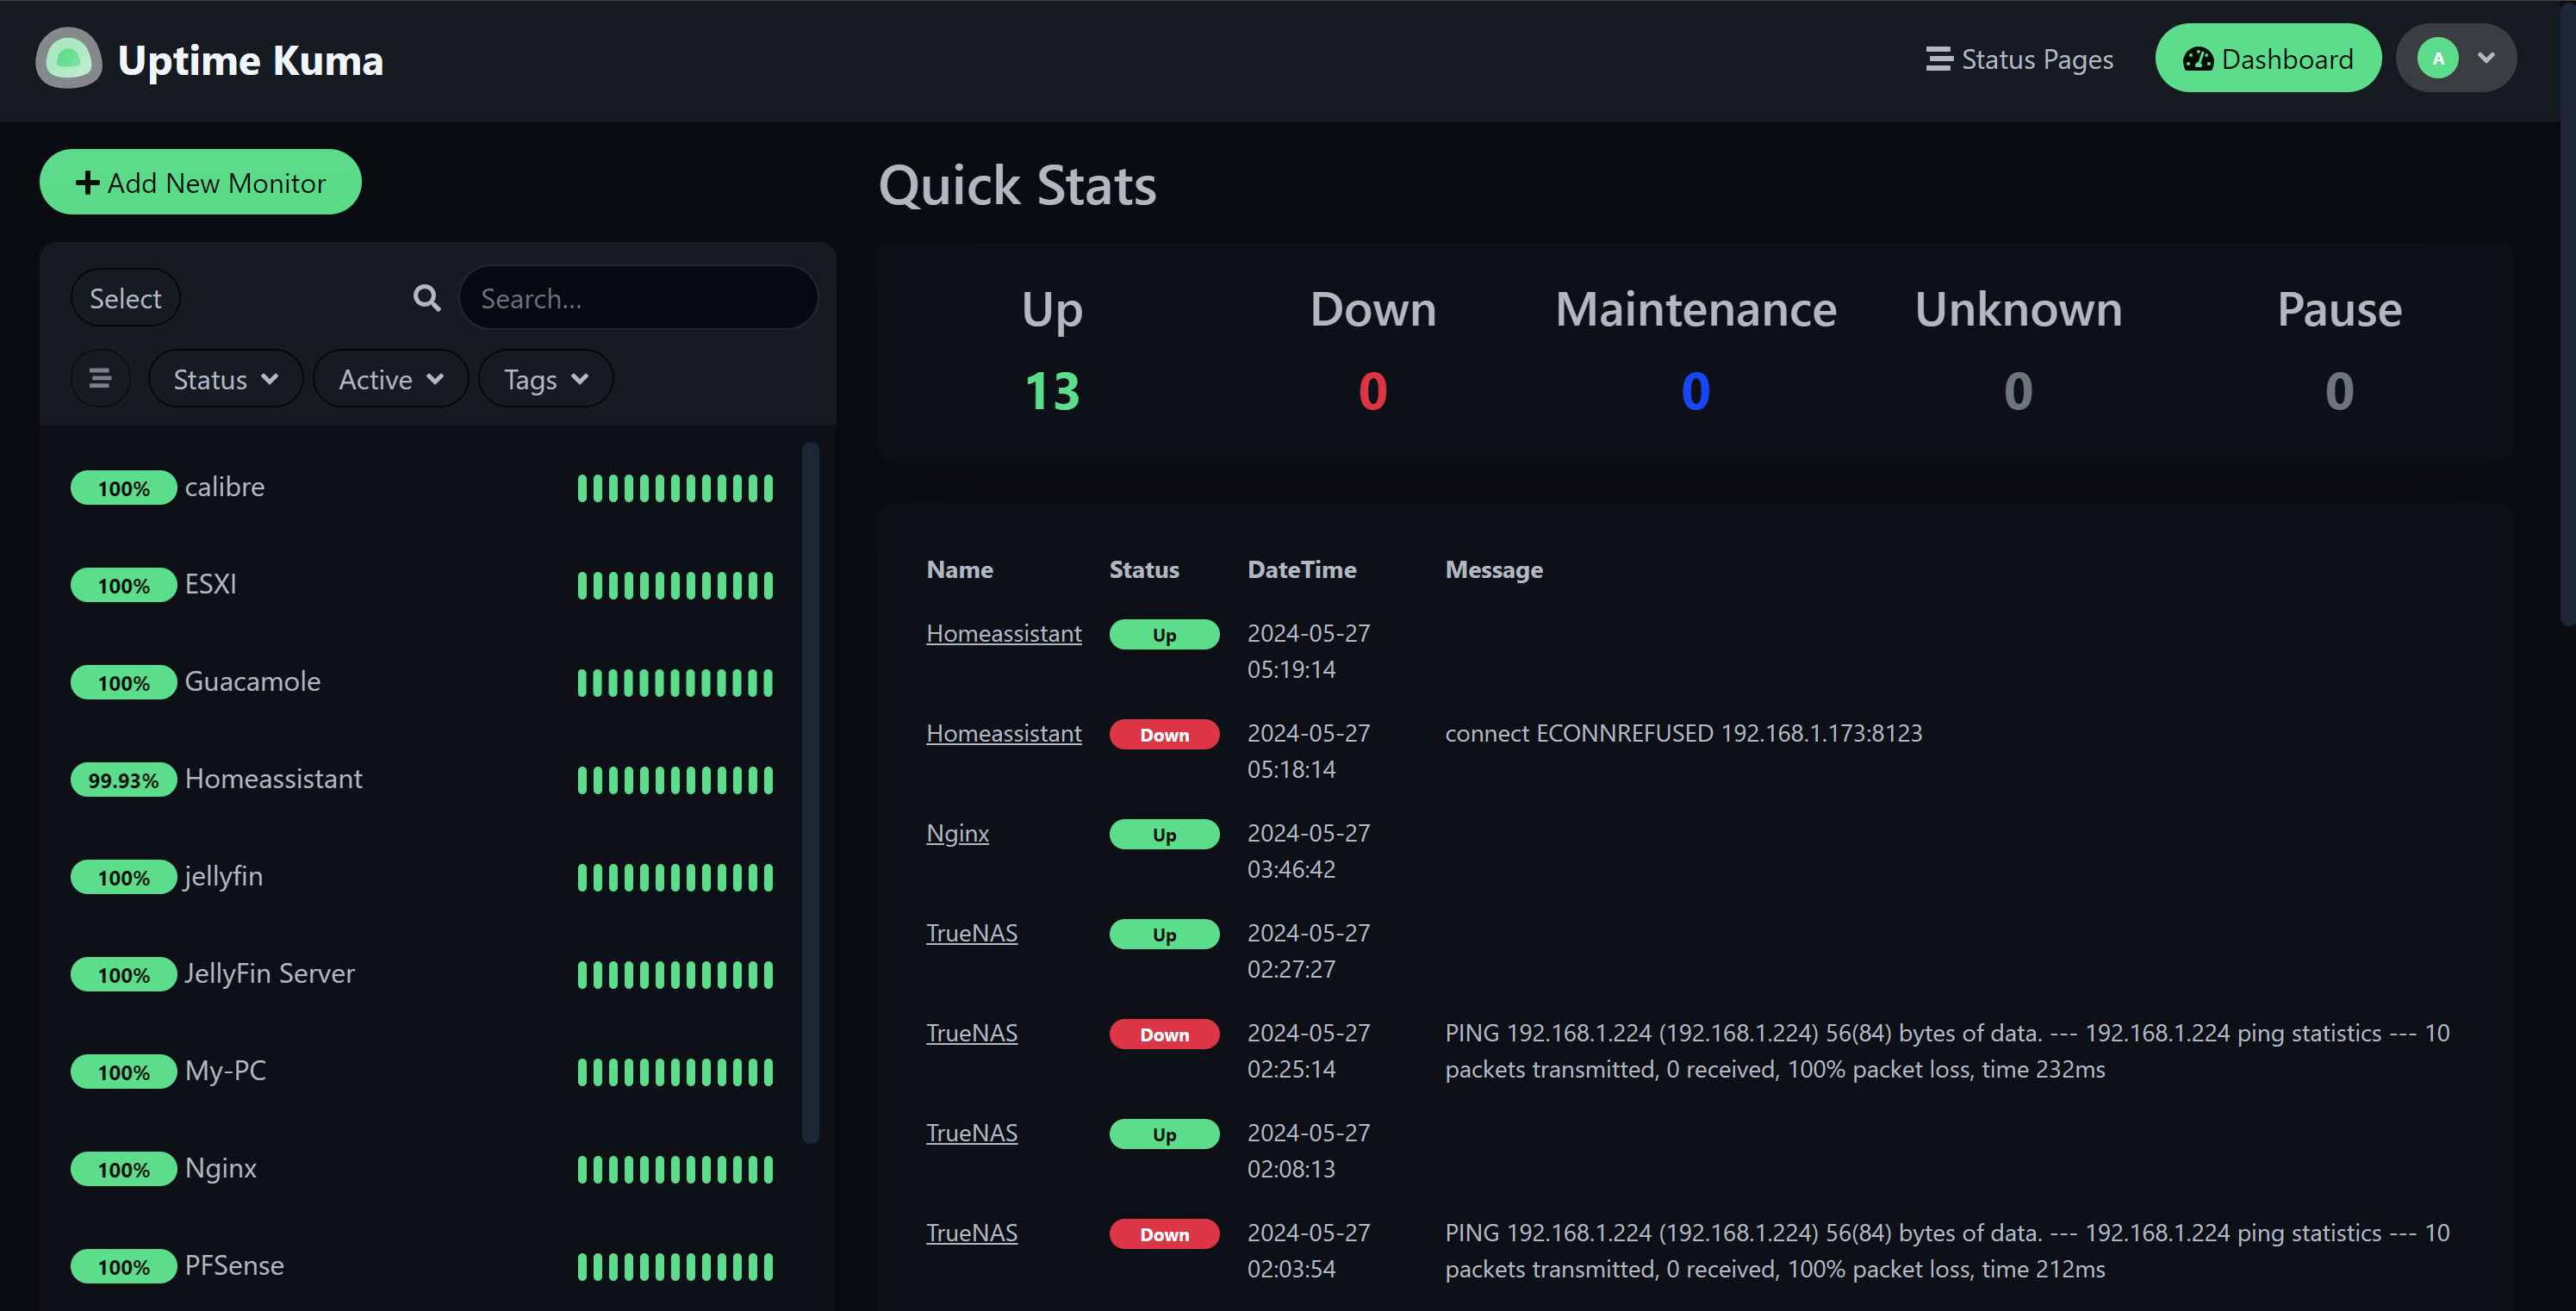
Are you ready to take your tech skills to the next level? Building a home lab can be an exciting and rewarding endeavor. Whether you’re a hobbyist, a student, or an IT professional looking to expand your knowledge, setting up your own server and deploying virtual machines opens up a world of possibilities. In this post, we’ll guide you through the process of purchasing a server, setting up virtual machines, and hosting your own website and services, accessible to your family and friends through tunneling.
Step 1: Choosing the Right Server
The first step in your home lab journey is selecting the hardware. While you can repurpose an old desktop computer for this purpose, investing in a dedicated server will provide better performance and scalability. Consider factors like CPU power, RAM, storage capacity, and expandability based on your budget and requirements. Popular options include pre-built servers from vendors like Dell, HP, or building your own using components from brands like Supermicro or ASUS.
Step 2: Setting Up Virtualization
Virtualization software allows you to run multiple virtual machines (VMs) on a single physical server, enabling you to simulate different environments for testing and development. Popular choices for virtualization include VMware vSphere/ESXi, Microsoft Hyper-V, and open-source options like Proxmox and VirtualBox. Install your chosen virtualization platform on the server and configure it according to your needs.
Step 3: Deploying Virtual Machines
Once your virtualization environment is set up, it’s time to create and deploy virtual machines. Decide on the operating systems and applications you want to run, whether it’s Linux distributions like Ubuntu Server or CentOS, or Windows Server for specific services. Configure networking settings, allocate resources (CPU, RAM, storage), and install necessary software within each VM.
Step 4: Hosting Your Website and Services
With your virtual machines up and running, you can now host your own website and services. Install web servers like Apache or Nginx, database servers like MySQL or PostgreSQL, and any other applications or frameworks you need for your website or web applications. Configure firewall rules and security measures to protect your server and data.
Step 5: Making Your Services Accessible
To share your website and services with family and friends, you’ll need to make them accessible over the internet. One way to achieve this is by setting up port forwarding on your router to redirect traffic to the appropriate ports on your server. However, this method may expose your home network to security risks. A safer alternative is to use SSH tunneling or VPN (Virtual Private Network) to securely access your services remotely without exposing them to the public internet.
Step 6: Continuous Learning and Improvement
Building and managing a home lab is an ongoing learning experience. Explore new technologies, experiment with different configurations, and troubleshoot any issues that arise. Join online communities, forums, or local meetups to connect with fellow enthusiasts and exchange knowledge and ideas.
By building your home lab, you not only gain valuable hands-on experience but also have the freedom to explore and innovate without limitations. Whether you’re hosting your personal blog, setting up a media server, or experimenting with IoT devices, the possibilities are endless. So roll up your sleeves, dive in, and let your imagination soar in the world of home lab experimentation!


