Upgrading the storage on your Mac Mini Late 2014 can breathe new life into the device, dramatically improving its performance. In this post, I’ll walk you through the process of upgrading your Mac Mini’s hard drive to a blazing fast NVMe SSD. Even in older machines, an NVMe SSD can significantly enhance performance, making your Mac Mini feel like new.
Why Upgrade to an NVMe SSD?
NVMe (Non-Volatile Memory Express) SSDs offer several advantages over traditional hard drives and even SATA SSDs:
- Speed: NVMe SSDs are significantly faster, with read/write speeds up to 3500 MB/s.
- Efficiency: NVMe drives are more power-efficient, which is great for reducing the power consumption of your Mac Mini.
- Reliability: NVMe SSDs have no moving parts, making them more reliable and durable.
What You’ll Need
- NVMe SSD: Choose a high-quality NVMe SSD. Popular options include Samsung 970 EVO, Western Digital Black SN750, or Kingston A2000.
- NVMe to PCIe Adapter: Since the Mac Mini Late 2014 doesn’t natively support NVMe drives, you’ll need an adapter.
- External Enclosure: For cloning your existing hard drive to the new NVMe SSD.
- Tools: A Torx T6 screwdriver, a T8 screwdriver, and a spudger for opening the Mac Mini.
- Software: Cloning software such as Carbon Copy Cloner or SuperDuper!
Step-by-Step Guide
- Backup Your Data: Before making any changes, ensure you have a full backup of your data. Use Time Machine or any other backup solution you prefer.
- Open the Mac Mini:
- Unplug all cables and turn the Mac Mini upside down.
- Use a spudger to carefully pry off the bottom cover.
- Use the Torx T6 and T8 screwdrivers to remove the screws holding the internal components.
- Remove the Existing Hard Drive:
- Locate the existing hard drive and disconnect the SATA cable.
- Carefully remove the hard drive from its bracket.
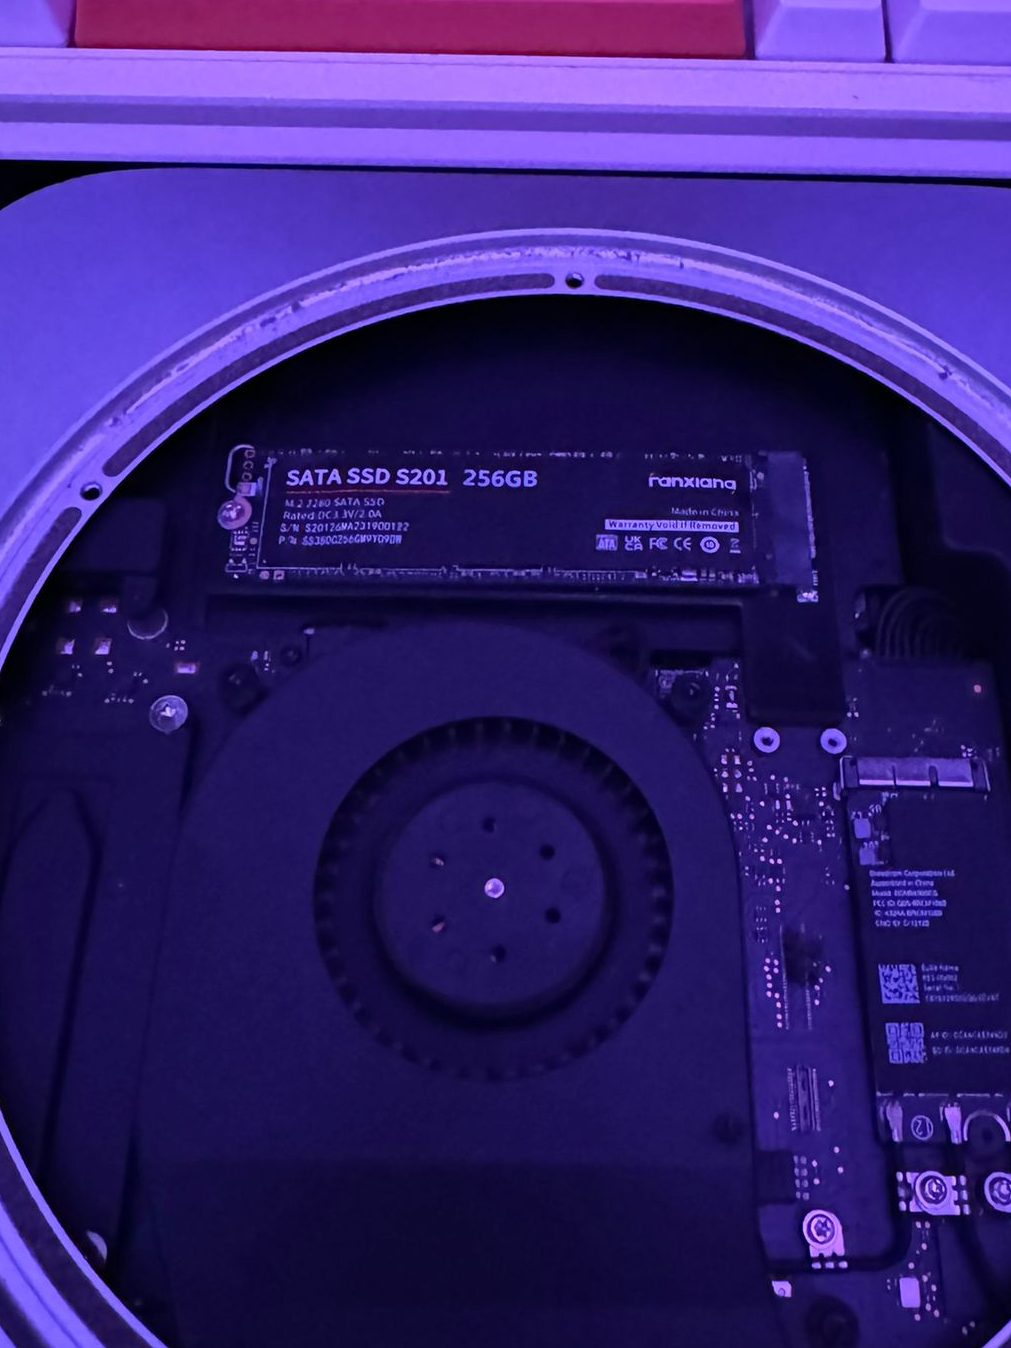
- Install the NVMe SSD:
- Attach the NVMe SSD to the NVMe to PCIe adapter.
- Insert the adapter into the PCIe slot inside the Mac Mini.
- Secure the adapter with screws if necessary.
- Clone Your Existing Drive:
- Connect the NVMe SSD to your Mac Mini using the external enclosure.
- Use cloning software to clone your existing hard drive to the new NVMe SSD.
- Ensure the clone process is complete before proceeding.
- Final Assembly:
- Reassemble the Mac Mini by reversing the disassembly steps.
- Place the bottom cover back and ensure everything is securely in place.
- Boot from NVMe SSD:
- Turn on your Mac Mini and hold down the Option key to select the new NVMe SSD as the boot drive.
- Once booted, go to System Preferences > Startup Disk and set the NVMe SSD as the default startup disk.
Performance Boost
The performance improvement after upgrading to an NVMe SSD is significant. Here are some areas where you’ll notice the difference:
- Boot Times: Reduced to mere seconds compared to the sluggish boot times of the old hard drive.
- App Launches: Applications launch almost instantaneously.
- File Transfers: Large files transfer at lightning speeds.
- Overall System Responsiveness: The overall feel of using the Mac Mini becomes smoother and more responsive.
Even though the Mac Mini Late 2014 is an older model, upgrading to an NVMe SSD can provide a remarkable performance boost, making it a viable option for everyday tasks and even some more demanding applications.
Conclusion
Upgrading your Mac Mini Late 2014 with an NVMe SSD is a worthwhile investment that extends the life of your device and greatly enhances its performance. The process might seem daunting, but with the right tools and a bit of patience, you can achieve a significant upgrade.
Items Used for the Upgrade
- Ranxiana NVMe SSD
- NVMe to PCIe Adapter
- External Enclosure
- Torx T6 Screwdriver
- Torx T8 Screwdriver
- Spudger
- Carbon Copy Cloner Software
Happy upgrading! If you have any questions or run into issues during your upgrade, feel free to ask in the comments below.


