Building Your Home Lab: Creating Virtual Machines and Self-Hosting Your Website
Are you ready to take your tech skills to the next level? Building a home lab can be an exciting and rewarding endeavor. Whether you’re a hobbyist, a student, or an IT professional looking to expand your knowledge, setting up your own server and deploying virtual machines opens up a world of possibilities. In this post, we’ll guide you through the process of purchasing a server, setting up virtual machines, and hosting your own website and services, accessible to your family and friends through tunneling.
Step 1: Choosing the Right Server
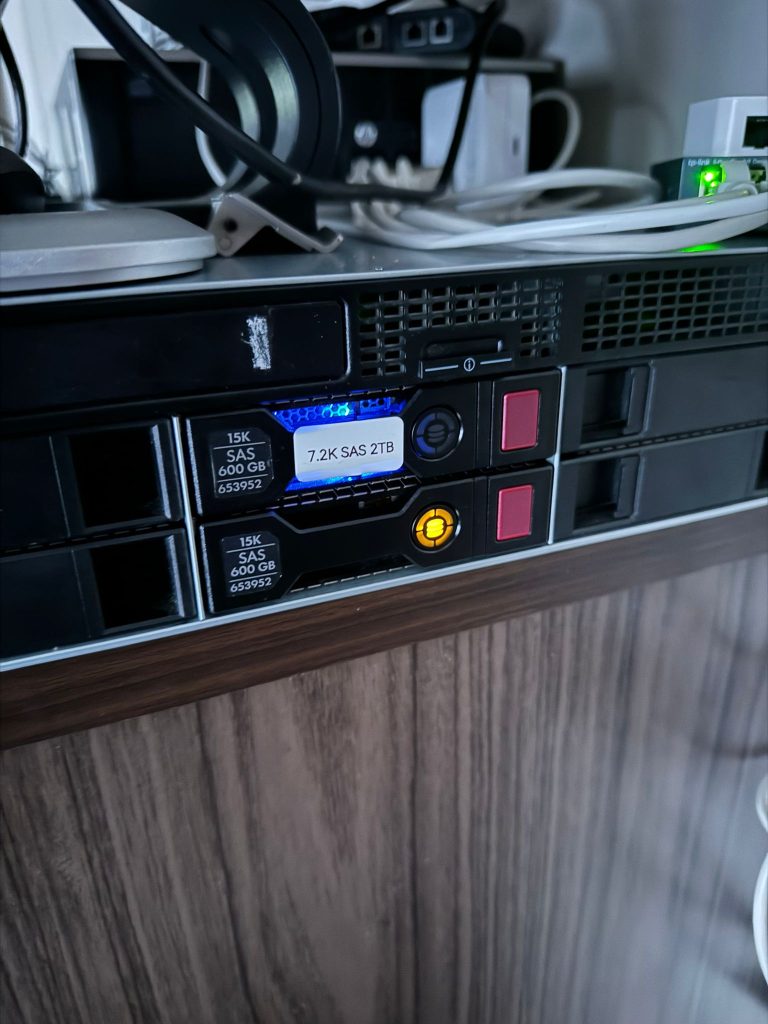
The first step in your home lab journey is selecting the hardware. While you can repurpose an old desktop computer for this purpose, investing in a dedicated server will provide better performance and scalability. Consider factors like CPU power, RAM, storage capacity, and expandability based on your budget and requirements. Popular options include pre-built servers from vendors like Dell, HP, or building your own using components from brands like Supermicro or ASUS.
Step 2: Setting Up Virtualization
Virtualization software allows you to run multiple virtual machines (VMs) on a single physical server, enabling you to simulate different environments for testing and development. Popular choices for virtualization include VMware vSphere/ESXi, Microsoft Hyper-V, and open-source options like Proxmox and VirtualBox. Install your chosen virtualization platform on the server and configure it according to your needs.
Step 3: Deploying Virtual Machines
Once your virtualization environment is set up, it’s time to create and deploy virtual machines. Decide on the operating systems and applications you want to run, whether it’s Linux distributions like Ubuntu Server or CentOS, or Windows Server for specific services. Configure networking settings, allocate resources (CPU, RAM, storage), and install necessary software within each VM.
Step 4: Hosting Your Website and Services
With your virtual machines up and running, you can now host your own website and services. Install web servers like Apache or Nginx, database servers like MySQL or PostgreSQL, and any other applications or frameworks you need for your website or web applications. Configure firewall rules and security measures to protect your server and data.
Step 5: Making Your Services Accessible
To share your website and services with family and friends, you’ll need to make them accessible over the internet. One way to achieve this is by setting up port forwarding on your router to redirect traffic to the appropriate ports on your server. However, this method may expose your home network to security risks. A safer alternative is to use SSH tunneling or VPN (Virtual Private Network) to securely access your services remotely without exposing them to the public internet.
Step 6: Continuous Learning and Improvement
Building and managing a home lab is an ongoing learning experience. Explore new technologies, experiment with different configurations, and troubleshoot any issues that arise. Join online communities, forums, or local meetups to connect with fellow enthusiasts and exchange knowledge and ideas.
By building your home lab, you not only gain valuable hands-on experience but also have the freedom to explore and innovate without limitations. Whether you’re hosting your personal blog, setting up a media server, or experimenting with IoT devices, the possibilities are endless. So roll up your sleeves, dive in, and let your imagination soar in the world of home lab experimentation!

Hosting Your Own Media Server with Jellyfin: Local and Internet Accessibility
Are you tired of relying on streaming services with limited libraries and fluctuating subscriptions? Hosting your own media server using Jellyfin offers a solution that puts you in control of your entertainment. In this guide, we’ll walk through the steps to set up a Jellyfin media server accessible locally and over the internet using DNS forwarding.
What is Jellyfin?
Jellyfin is an open-source media server software that allows you to organize, manage, and stream your media library. It supports a wide range of media formats and offers features like live TV streaming, DVR functionality, and support for various client devices, including web browsers, mobile devices, smart TVs, and media players.
Step 1: Setting Up Jellyfin Locally
- Choose Your Hardware: You can run Jellyfin on a variety of hardware, from a dedicated server to a Raspberry Pi. Ensure your hardware meets the minimum requirements for smooth playback and transcoding if needed.
- Install Jellyfin: Download and install Jellyfin on your chosen platform. Follow the installation instructions provided on the Jellyfin website for your operating system.
- Configure Media Library: Once installed, configure Jellyfin to point to your media library. Organize your movies, TV shows, music, and other media into appropriate folders for Jellyfin to scan and catalog.
- Set Up Users and Permissions: Create user accounts within Jellyfin and assign appropriate permissions to control access to your media library.
Step 2: Making Jellyfin Accessible Locally
By default, Jellyfin should be accessible on your local network once installed. You can access it by entering the server’s IP address followed by the configured port (usually 8096) in your web browser. For example, http://your_server_ip:8096.
Step 3: Accessing Jellyfin Over the Internet
To access Jellyfin from outside your home network, you’ll need to set up DNS forwarding to route traffic to your server.
- Register a Domain Name: Choose and register a domain name from a domain registrar if you haven’t already.
- Configure Dynamic DNS: If your home internet connection has a dynamic IP address (most residential connections do), you’ll need to set up dynamic DNS (DDNS) to associate your domain name with your changing IP address. Many routers have built-in support for popular DDNS providers like DynDNS, No-IP, or DuckDNS.
- Port Forwarding: Configure port forwarding on your router to forward incoming traffic on the desired port (usually 8096 for Jellyfin) to your server’s local IP address.
- Secure Access: For security, consider using HTTPS for remote access. You can obtain a free SSL/TLS certificate from Let’s Encrypt and configure your Jellyfin server to use it.
- Access Your Media Server: Once set up, you can access your Jellyfin server from anywhere with an internet connection by entering your domain name in a web browser.
Conclusion
Hosting your own media server with Jellyfin gives you the flexibility to enjoy your media library on your terms. By making it accessible locally and over the internet, you can stream your favorite movies, TV shows, and music wherever you are, whether at home or on the go. With Jellyfin’s open-source nature and active community, the possibilities for customization and expansion are endless. Start building your personal media empire today!

Setting Up the NAS Driver:
- Hardware Requirements: Ensure you have the necessary hardware components such as multiple hard drives or SSDs, a compatible RAID controller (if applicable), and network connectivity.
- Install ESXi: If you haven’t already, install VMware ESXi on your host machine. This hypervisor will serve as the foundation for hosting your virtual machines, including the NAS driver.
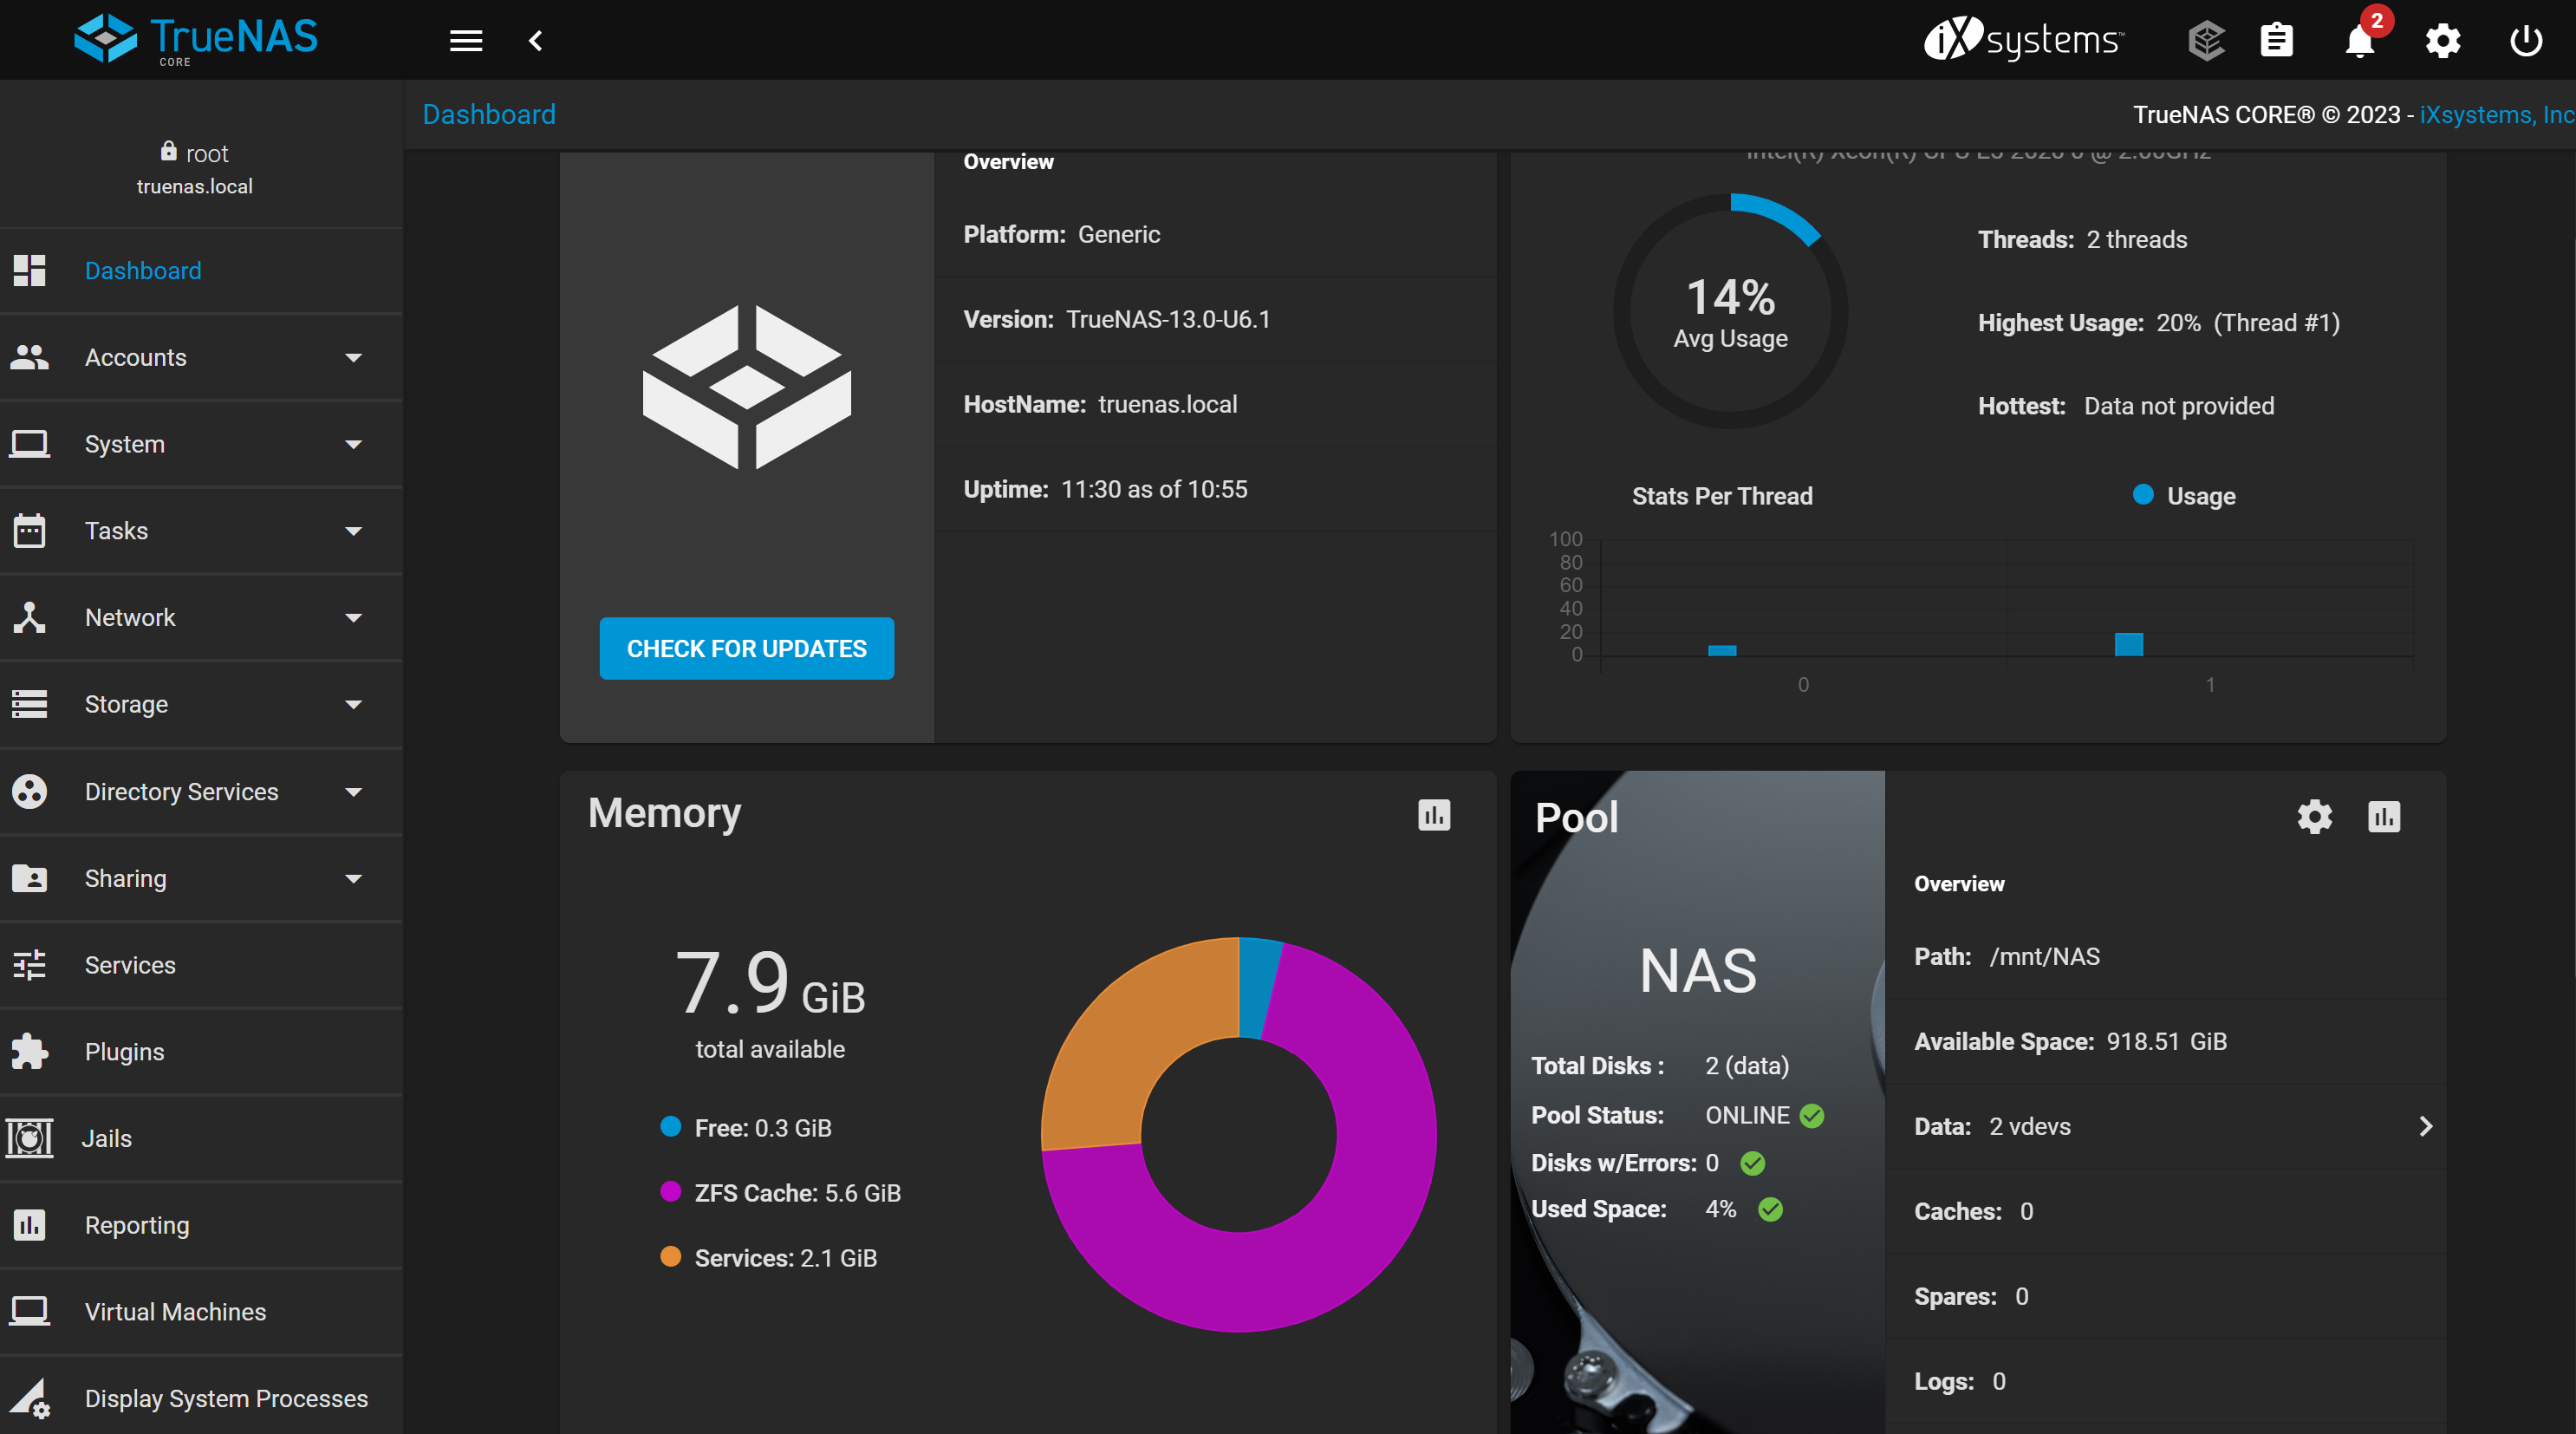
- Create Virtual Machines: Using the vSphere Client, create two virtual machines (VMs) on your ESXi host. These VMs will serve as your NAS nodes. Ensure that each VM has access to the storage devices you intend to use for your NAS.
- Configure Networking: Set up networking for your NAS VMs. Ensure they have connectivity to your ESXi host and any other machines that need access to the NFS shares.
- Install NAS Software: Install and configure your preferred NAS software on each VM. Popular choices include FreeNAS, OpenMediaVault, or NAS4Free. Configure them to use the available storage devices and set up any necessary RAID configurations for redundancy.
Configuring Redundancy:
- Replication or Mirroring: Configure replication or mirroring between the two NAS nodes. This ensures that data is duplicated across both nodes, providing redundancy in case of hardware failures.
- Heartbeat Monitoring: Implement heartbeat monitoring between the NAS nodes. This allows each node to monitor the health of the other and automatically failover in case of a node failure.
- Load Balancing: Set up load balancing for incoming NFS requests. This distributes the workload evenly between the NAS nodes, improving performance and reliability.
Using NAS as NFS Storage:
- Export NFS Shares: Configure NFS shares on your NAS nodes, specifying which directories you want to make available to your server.
- Mount NFS Shares: On your server, mount the NFS shares exported by your NAS nodes. This allows your server to access the shared storage for storing and retrieving data.
- Testing and Monitoring: Test the setup by transferring data to and from the NFS shares. Monitor the performance and ensure that redundancy mechanisms are functioning as expected.
Conclusion:
Setting up a redundant NAS driver on your ESXi host provides a reliable storage solution for your server’s NFS needs. By following the steps outlined above, you can ensure data integrity, high availability, and optimal performance for your storage infrastructure. Whether you’re managing a small-scale setup or a large enterprise environment, implementing a redundant NAS configuration is a crucial step towards building a resilient IT infrastructure.
